Showing posts with label polymer clay. Show all posts

Monday, August 25, 2014

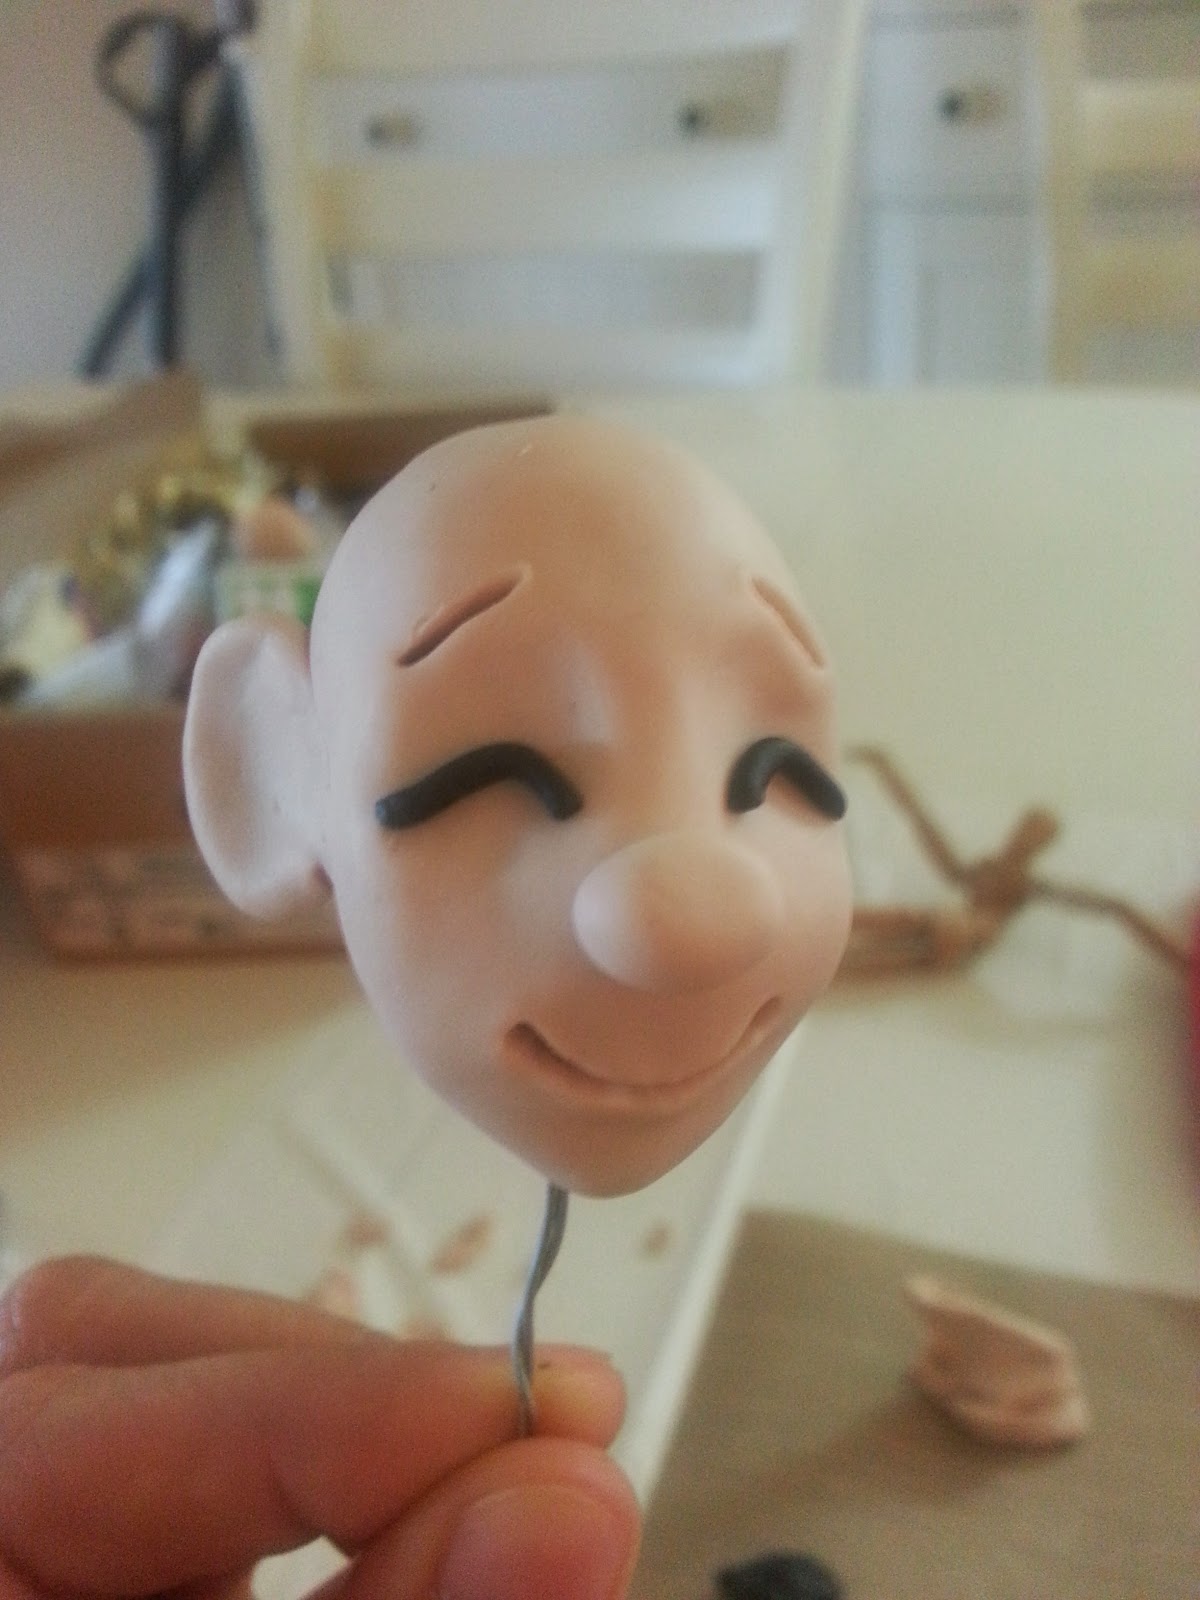
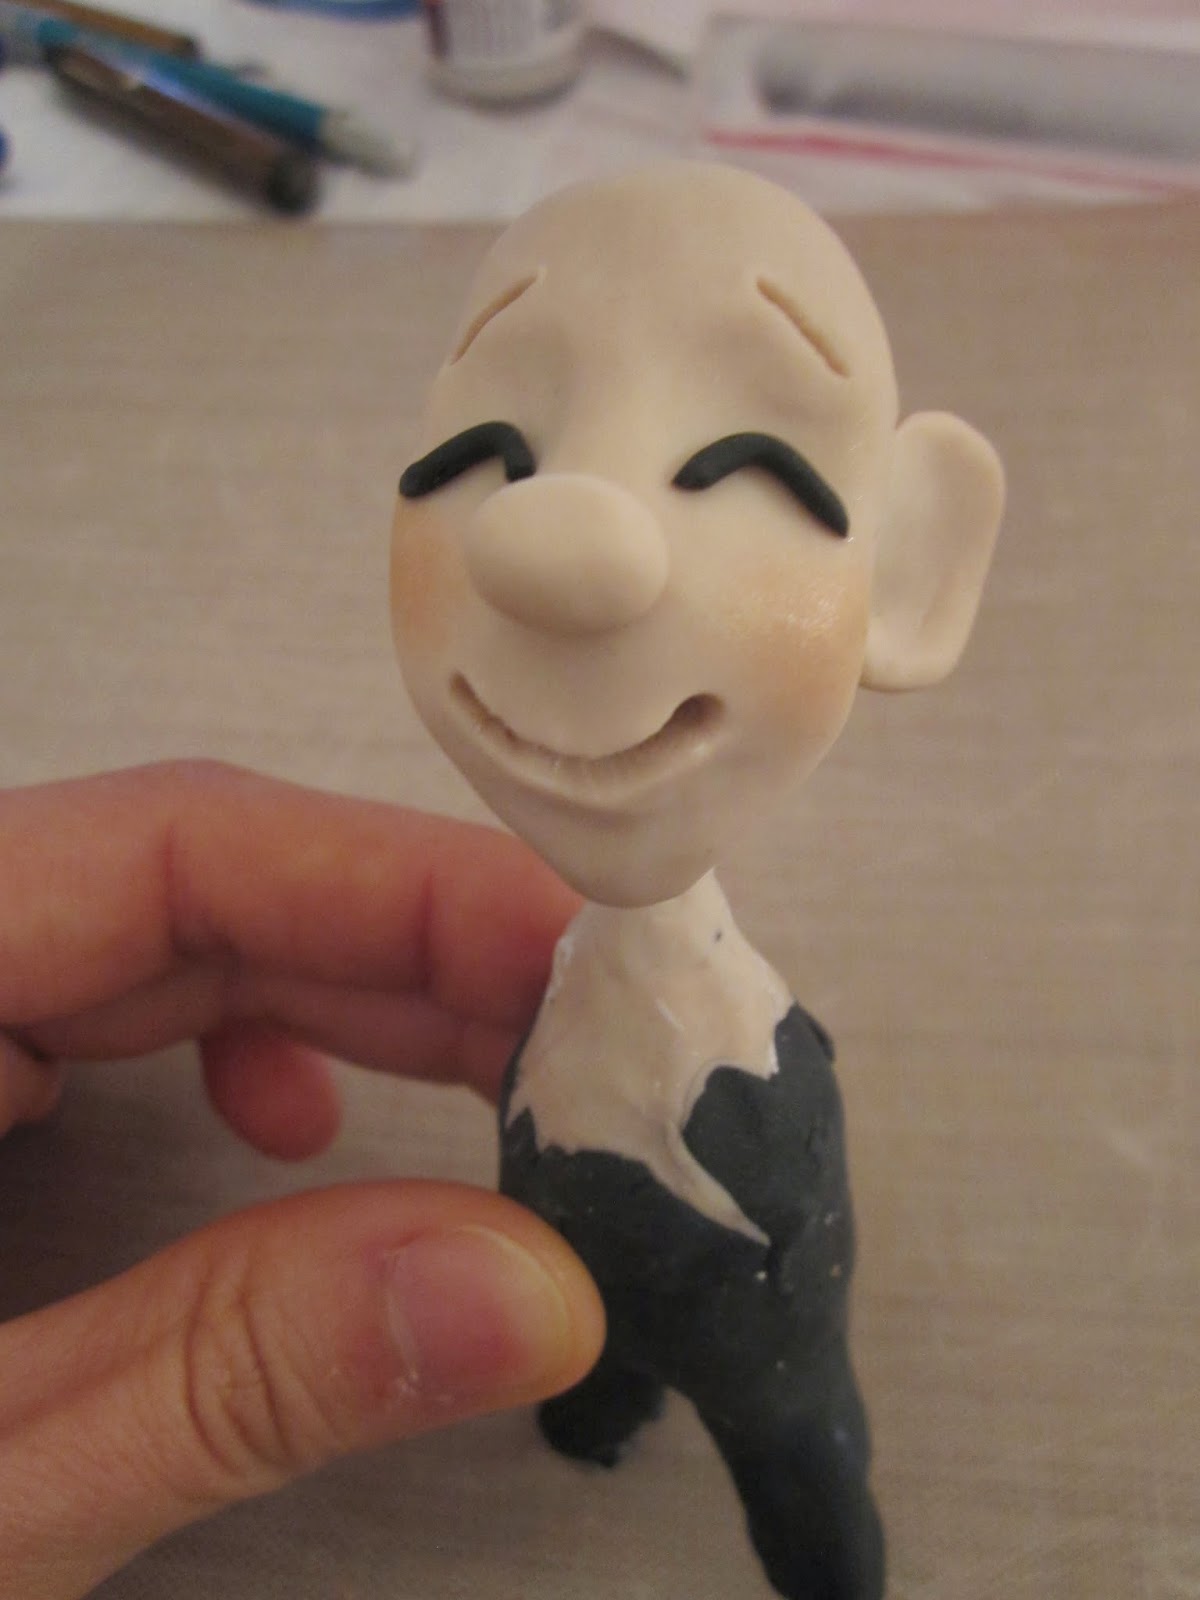
Cello Boy Cake Topper

Okay, I made this cake topper like a year ago.  I'm so behind on posting.  Oh well.

This was my first paid cake topper.  Normally, I only make these for those who are close to me as an expression of my love, but a friend of mine asked me if I would be willing to make a paid one for someone she knew.  Since I had never done it, I decided to try, and estimated a rough cost for payment.

Although this project was fun because there were new aspects to it that were challenging, I realized when I finished that I had estimated way too low for cost.  I remembered again why there was a reason I only made these for those closest to me.  So much work and effort goes into each once because each is completely unique and tailor-made for the person.  If I were to charge these at what they're worth, I doubt anyone would want to buy them anyway.  So, lesson learned:  don't take paid projects unless the client can pay what it's worth, but keep creating freely for those I love!  :)


The project was for a young boy who was giving a cello recital for friends and family.  My girlfriend made the cake, and I made this cake topper for it.  I had the friend who gave me the job send me pictures of him, and I did my best to make the face look more like him.  


I dunno where I got the shoe design.  I think I look up men's dress shoes on the internet.  

 The project itself was the most challenging so far because of the cello.  Being more free-handed than precise, I can't stand when I have to do super straight lines and symmetrical figures.  Drawing a template ahead of time definitely helped.

 This was one of my favorite parts of the cello.  I knew in my mind the cello needed a bridge, so I kept an eye out at the store for wooden pieces that could work.  This anchor wood piece was perfect when I saw the rounded tips!  As you can see, I cut the end off, then sliced it for placement of the "strings".

This cello was so tiny that even wire would've been too thick.  I used grey thread for each string.  You can see how tiny it is here as I use the Exacto knife to place the threads.


My other favorite detail!  These mini thumbtack things that worked perfectly for my cousin's cake topper sandals and hair clips came to mind when I was wondering what I'd use for the tuning knobs.  I found them in black - perfect!

Final cello before glazing.  The strings were kinda bumpy, but that was the straightest I could get them without my eyes bleeding out of my head.


After glazing.


 Yes!  Done!


I didn't actually go to the event, so this pic was the most I got to see of the topper and cake.  Heard it was a hit and the client was very happy.  Success!  :)

Monday, November 4, 2013

Farewell Cake Topper

My beloved cousin was moving to Korea after having lived with us for about a decade.  I knew she had always wanted a cake topper, so I decided to surprise her with one as a parting gift.  The outfit I chose was one that she had worn during a memorable girls' night.  Yes, including the batman cape.  Don't ask.  :)  The major issue I had with this figurine was the fact that I didn't take the cape into account.  The weight of it ended up pulling on her so much that she broke at the legs after I had completed everything!  There was some last minute superglue insanity, and she held together just long enough for Esther to thoroughly enjoy the surprise.  Unfortunately, she started breaking everywhere after that, and on the plane ride back to Korea, but since my cousin is crafty herself, she was able to fix her when she got home.  Esther's happiness made me happy, and the figurine was but a small expression of my appreciation to God for placing this blessed sister in my life!      
                               

This was the first time I added lips since Esther has luscious lips.    I also added her characteristic birthmark, and put in the usual earring studs that she wears every day.
Here's the shirt she wore.

Hair before styling (my favorite part!)

I found these awesome pieces at the craft store that were used for jewelry making.  I was so excited because I realized I could use them for the sandal decor as well as the hair clips.  Just buy the right color, do a little snipping and bending, and voila!  Hair clips!  Esther is known for these.  She wears them quite often in her hair.

Batman cape from our girls' night. 


This was my favorite detail.  Those pieces I mentioned earlier that I used for her hair clips were also sold in gold.  Once I bent them and colored them with permanent marker, they couldn't have been more perfect for the bizZaM leopards on her sandals.  (That's my foot kicking her in that picture above..heh heh)

On top of the yummy mustache cake that our church girls made for Esther.  (Esther loves mustaches.)  


Ok.  She's going to hate me for putting these up.  But, they were too cute not to.  I love Esther because she is so expressive with her emotions.  She's so cute when she cries.  Knowing how much she appreciated the figurine, and how much she would miss us, just made me love her more.  :)


No more tears!  Keep smiling your beautiful smile and bring the same joy you brought us to others!


Friday, February 8, 2013

Birthday Cake Topper


 One of my church girls, Enjee, was turning 19, and our cake queen, Esther, designed yet another beautiful cake with Dain.  I made a cake topper for the cake, and I probably spent the least amount of time making this one.  That's because I already had the idea for the topper visualized in my head, it was a simpler outfit, and I only had to make one person, as compared to the two that's required for wedding toppers.  I was very happy with the results!


Creation process
Playing with hairstyles, yet again.  This was the first time where I changed the shape of the figurine's face. At first, I freaked out because she looked like an alien.  But, it looked much more like her once I added hair.  The face shape change worked well because it's a very characteristic part of Enjee's cutie face.
Holding little Enjee.  If she were really this size, I'd take her in my pocket with me everywhere!  :)


Enjee (or rather Hannah) blowing out her candles.
The amaaazing cake!  Esther and Dain hand painted each member of our church's English ministry group!

Happy Birthday Enjee!

 
Side and back views.  Whenever Enjee puts her hair up, she does it like this.  Updos are easier (and less fragile) to manage both in the creation process and the final product.

I was making her outfit purely from memory so I got some details wrong.  The thong part of the shoes should have gone straight back, not angled like I did it.  I also forgot to make the ring part around her big toes, and the bottoms to the shoes.  Oh well.  They're still cute!  I needed tiny gold pieces to make the gold rings on her shoes, so I bought tiny beads, then pinched and pressed them in with pliers.

Details.  I used real makeup on her eyes and cheeks, and drew in her freckles and signature beauty mark on her lip!

 Here's the inspiration for the outfit.  Earlier in the year, she had worn this at Dain's graduation, and I had remembered it visually in my head.  I was planning to make the purse too, but couldn't find the right gold rings for the chain, and also knew it would take too long.  I just noticed her toenails!  If I knew they were blue, I woulda done that too! 


Our girls on Dain's graduation day!  (From L to R:  sweet Sunghye, me, Enjee-bday girl, Dain and Esther-cake makers!)